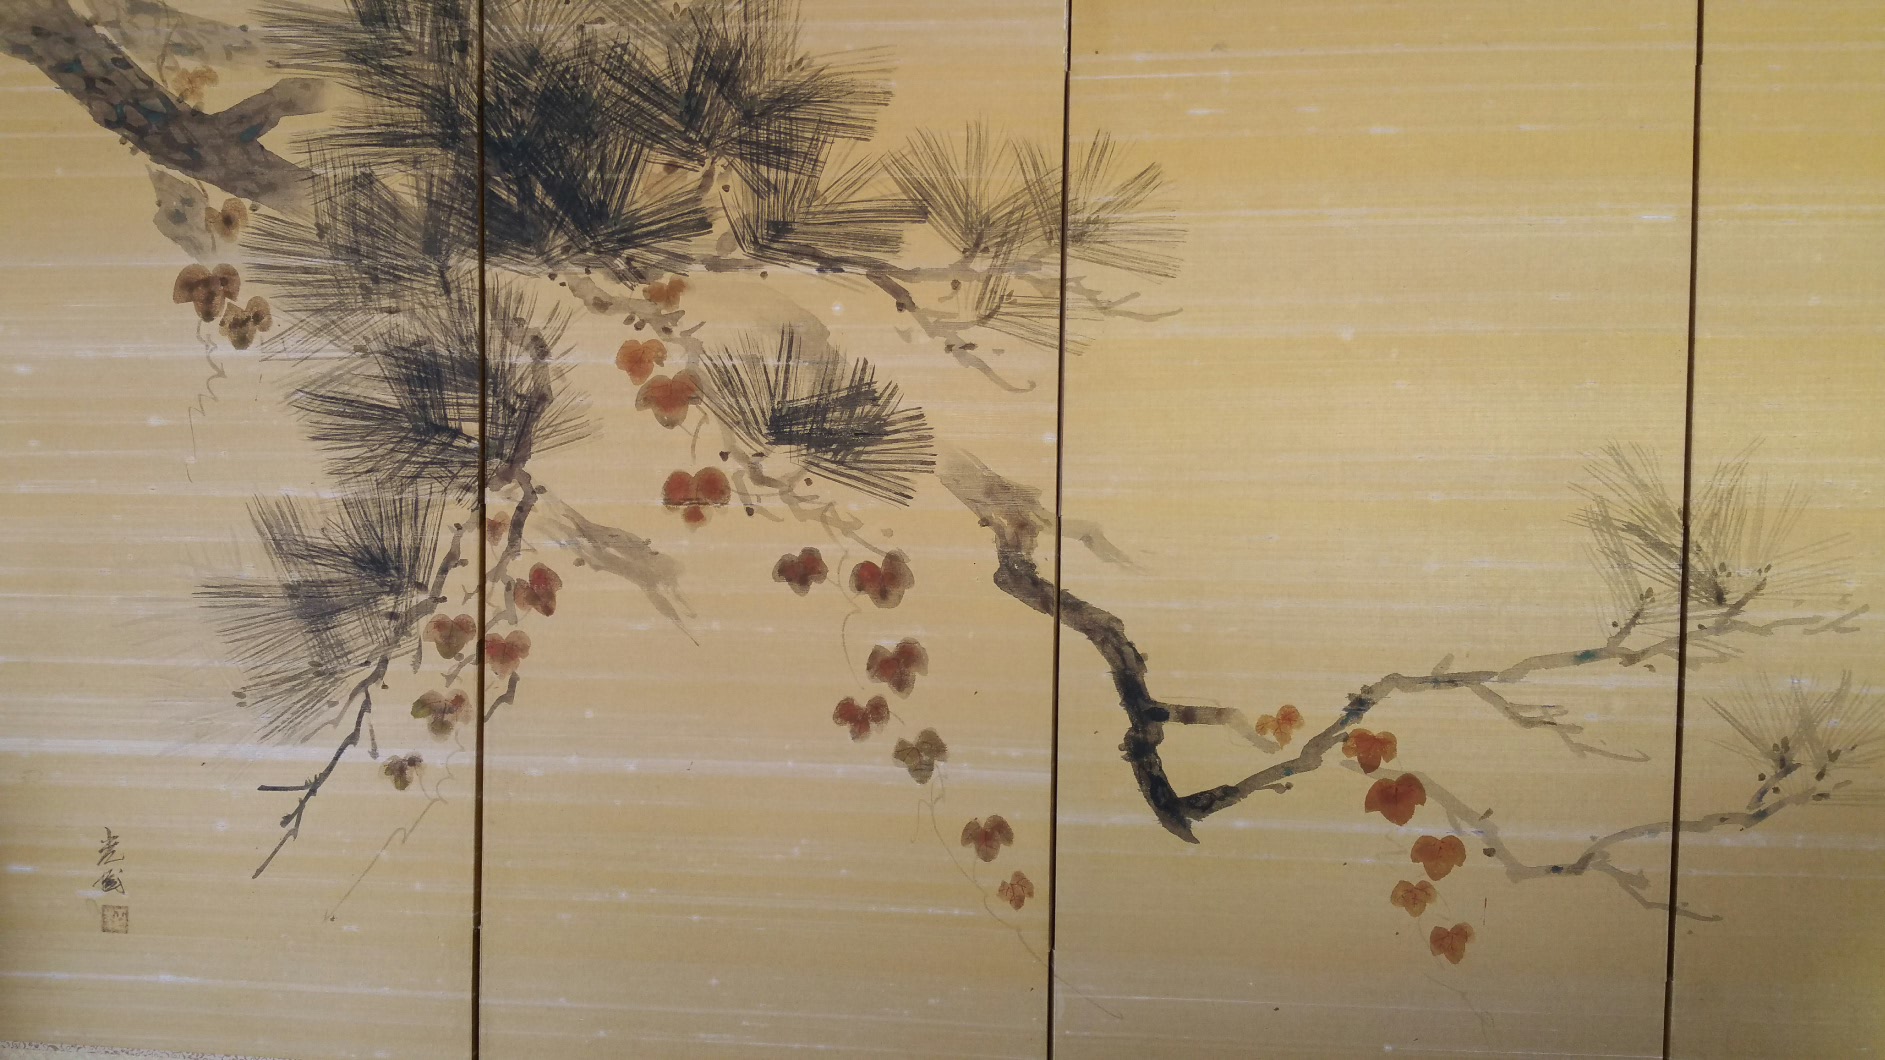
Here’s how to make a simple, inexpensive tabletop wire holder-feeder.
I usually buy 1 Kg wire rolls to keep costs down. However, 1 Kg wire rolls are bulky and heavy. Instead of holding the wire roll when I perform wiring I place it on a temporary, fixed holder that is clamped to my outdoor bonsai workbench.
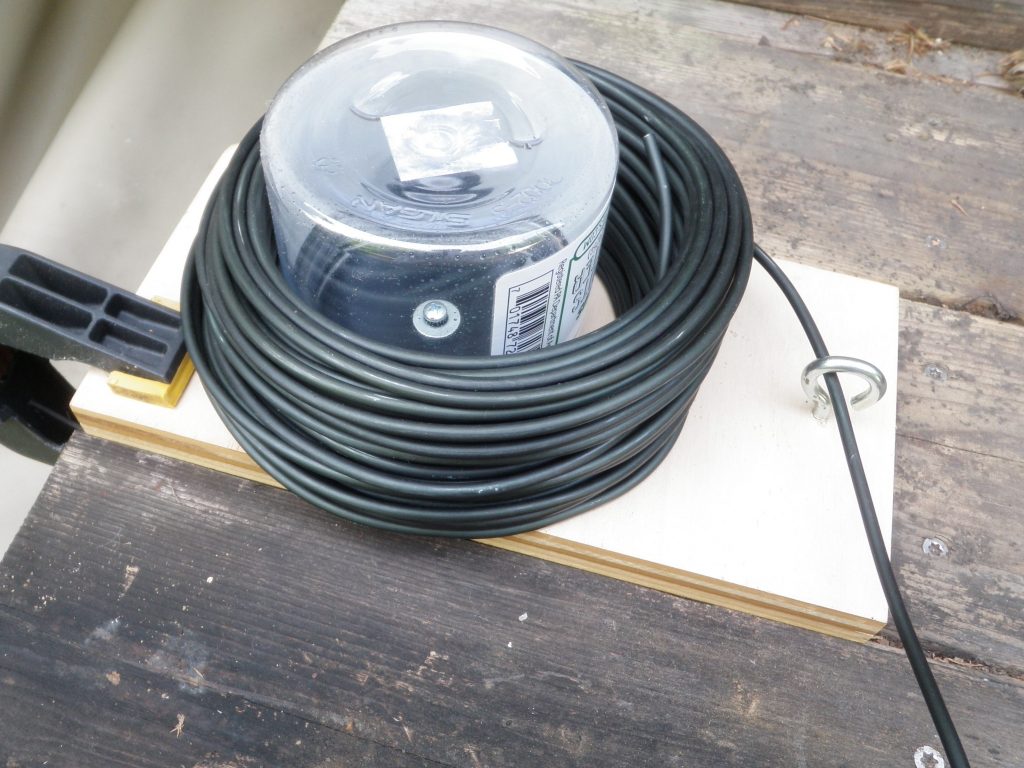
The materials consist of a 5″ x 10″ piece of wood, eye hook screw, pan head screw, washer and a used plastic jar.
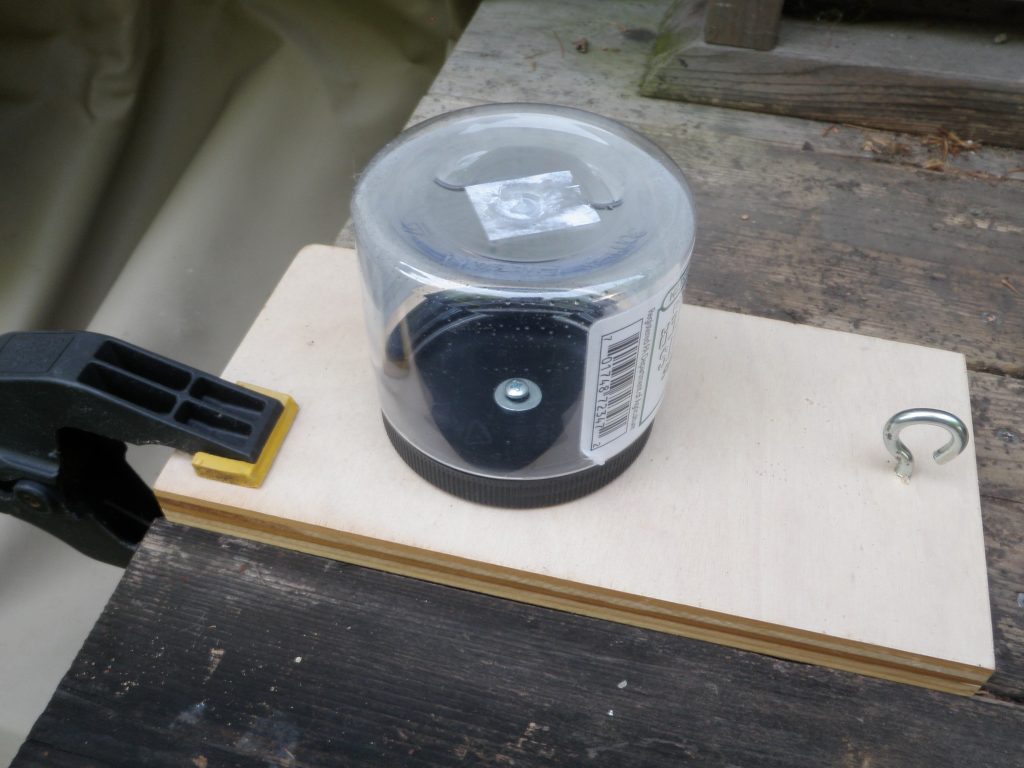
Any plastic jar will work. It just needs to fit loosely in the wire roll center. Drill a hole through the jar’s cap and then screw the cap to the wood base. Re-attach the jar to the cap. If you leave the screw slightly loose the jar will turn more freely with the wire.
If you choose, mount the jar and eye hook directly to a work surface or shelf, use taller jars to stack more wire rolls on top, or, mount multiple jars on a longer piece of wood to make a horizontal wire caddy…. Be creative!
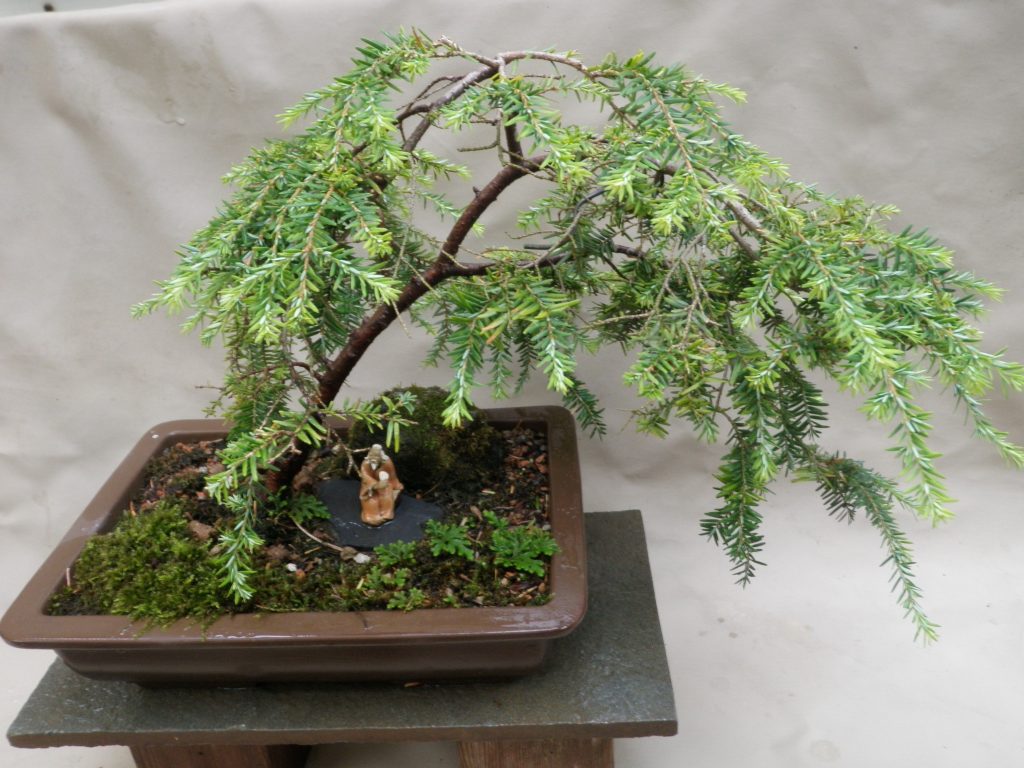
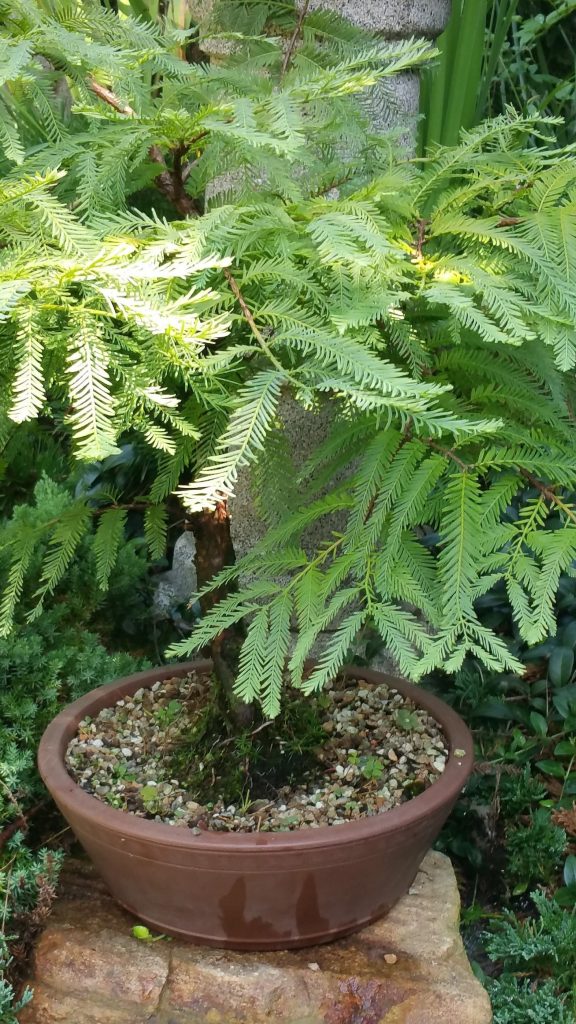
I have a few dwarf conifers that I can never decide where best to plant them so some go into spare bonsai pots to trial as potential bonsai. This one is a dwarf Canadian Hemlock, which appears to be the cultivar ‘Cole’s Prostrate’.
The tree has been in this pot for a few years now. It is a very slow grower. Surprisingly, some Club Moss has recently appeared on its own. I’ll leave it in hopes that it spreads and begins to look like a fern covered forest floor.
I had purchased this tree in a nursery pot from Scott White at Bucks County Bonsai (Perkasie, PA).
Going forward, I’ll try to mention the origin of my trees.
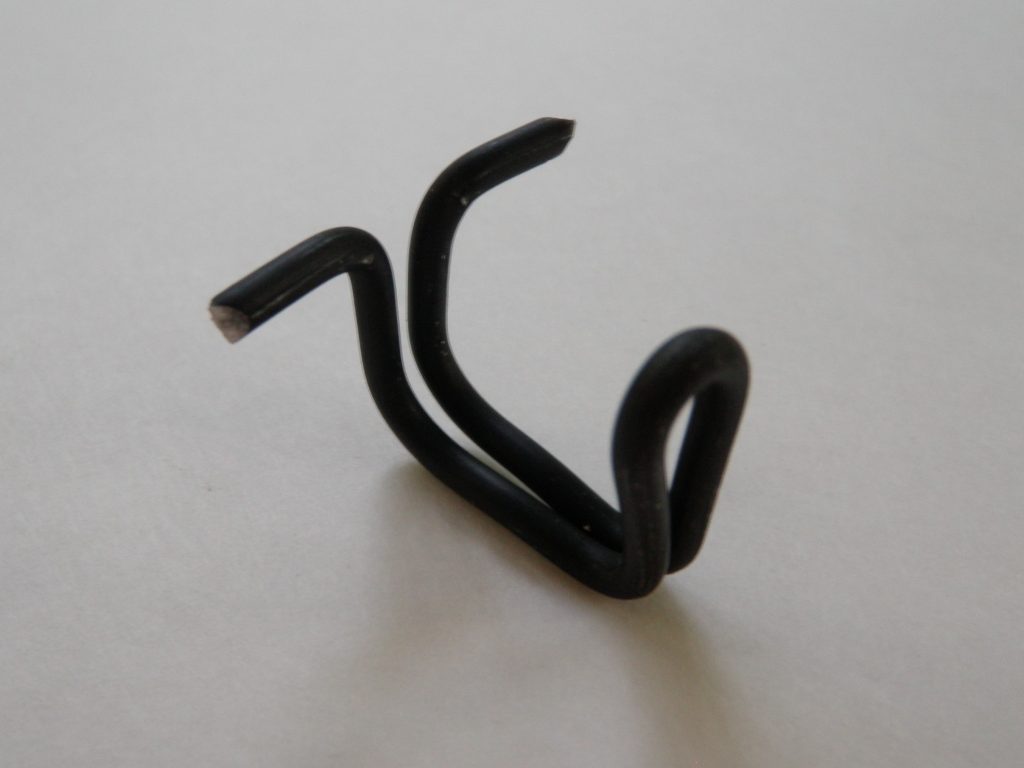
How to make an adjustable guy wire for heavier branches instead of using a turnbuckle.
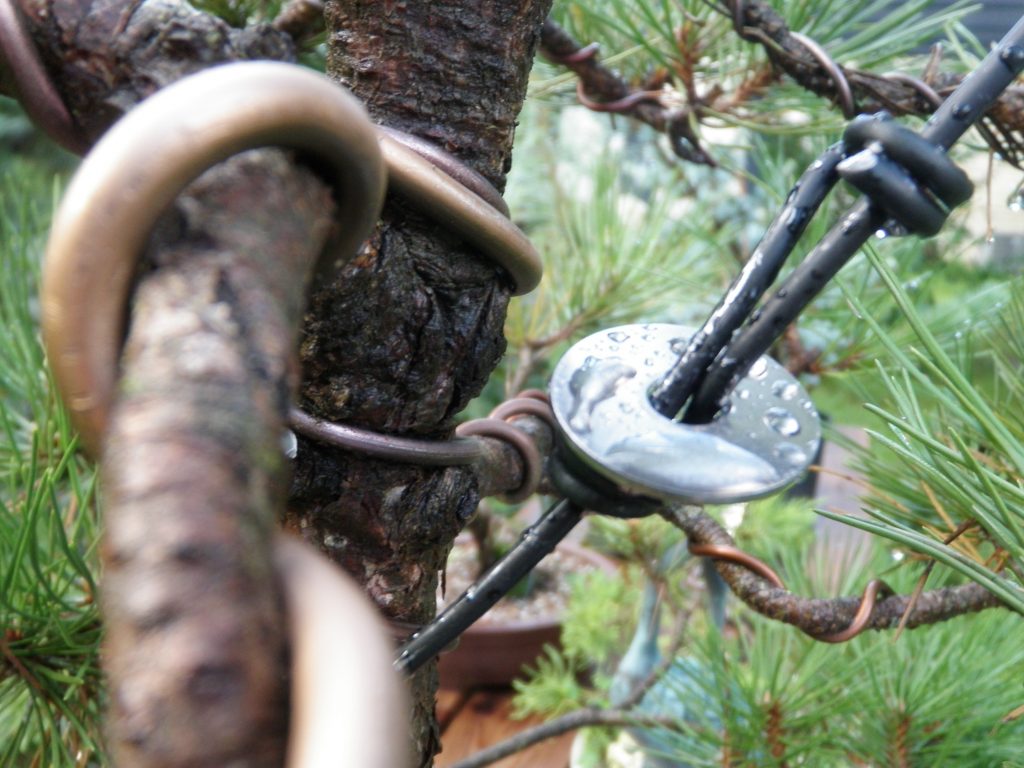
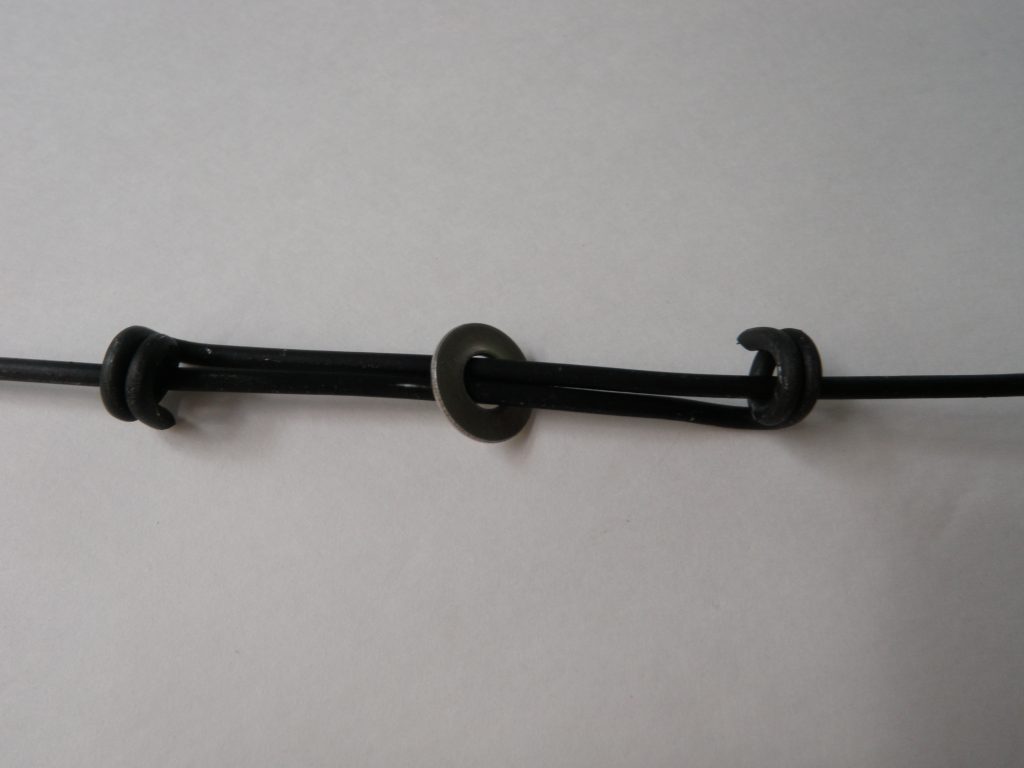
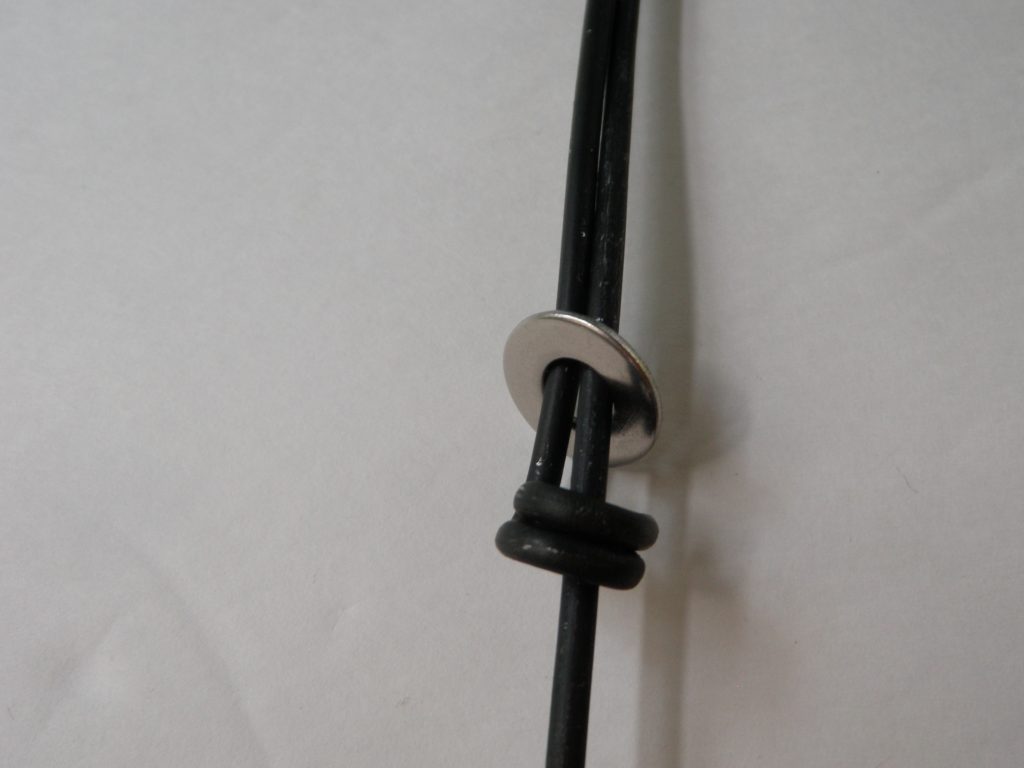
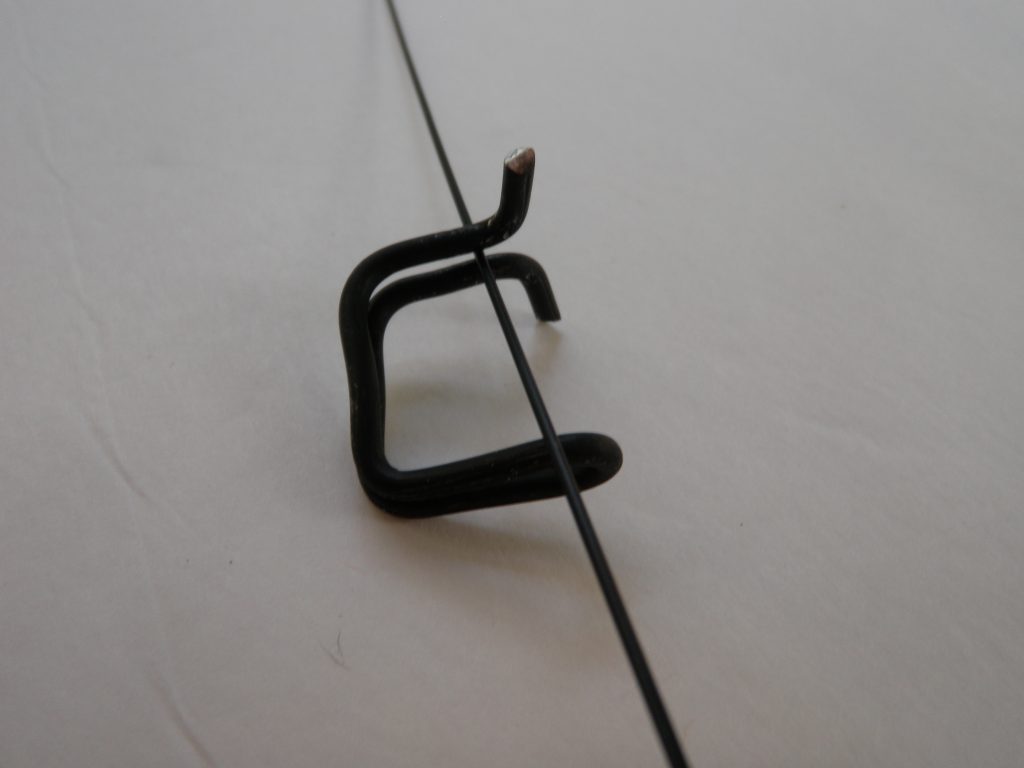
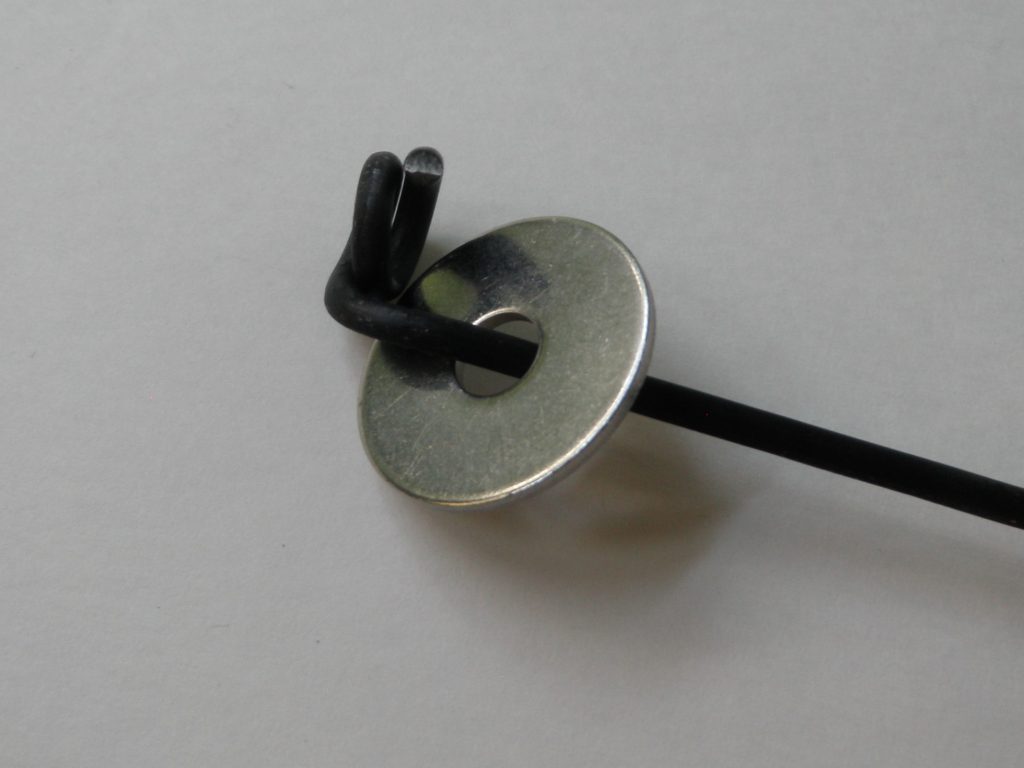
Using 3 mm aluminum wire make up two Bonsai Stakes as described in a previous post below. Extend the wire lengths for your guy wire application. Slide a thin washer with a 1/4″ hole over one stake and then slide the stake into the other stakes looped end so the wire ends are opposing. The washer must be around both wires. Note: The outside diameter of the washer does not matter.
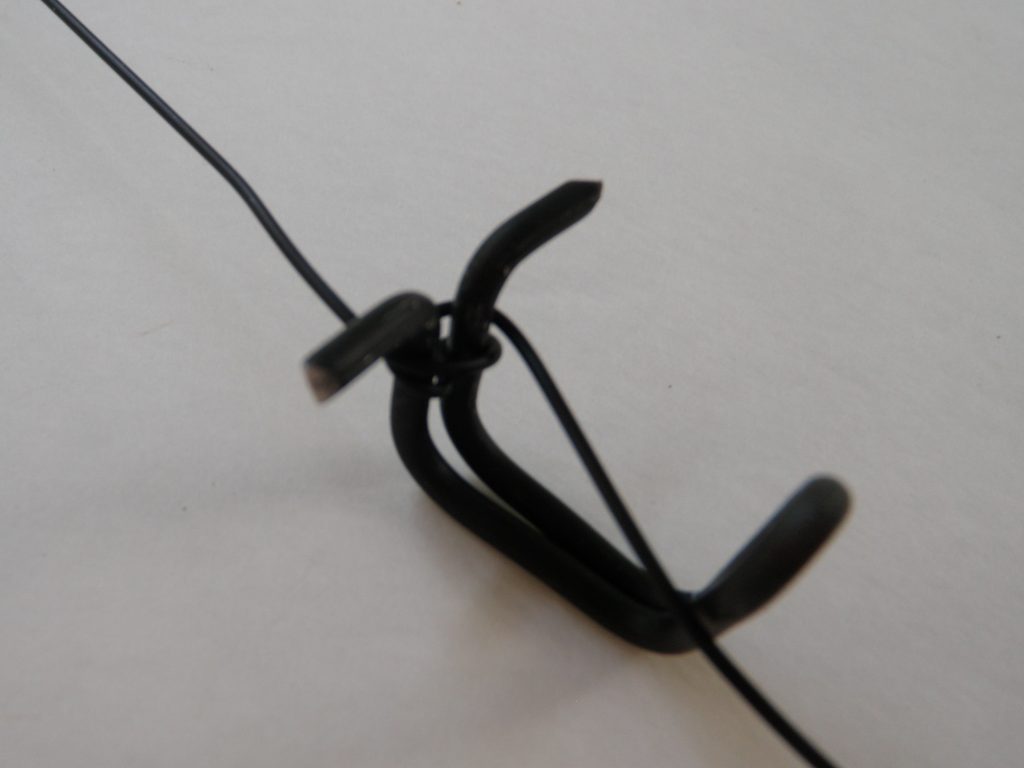
Pull the wire stake looped ends towards each other while letting the washer move freely between them. The washer will want to bind against the wires so keep the washer perpendicular to the wires to allow for free movement. Next, with the looped ends positioned close together install the guy wire on the branch and anchor point. Bend the branch while guiding the looped wire ends farther apart and freeing the washers grip. Pull the washer down at an angle and it should grab both wires tightly when you release pressure from the branch. Position the washer as close as possible toward the bottom loop.
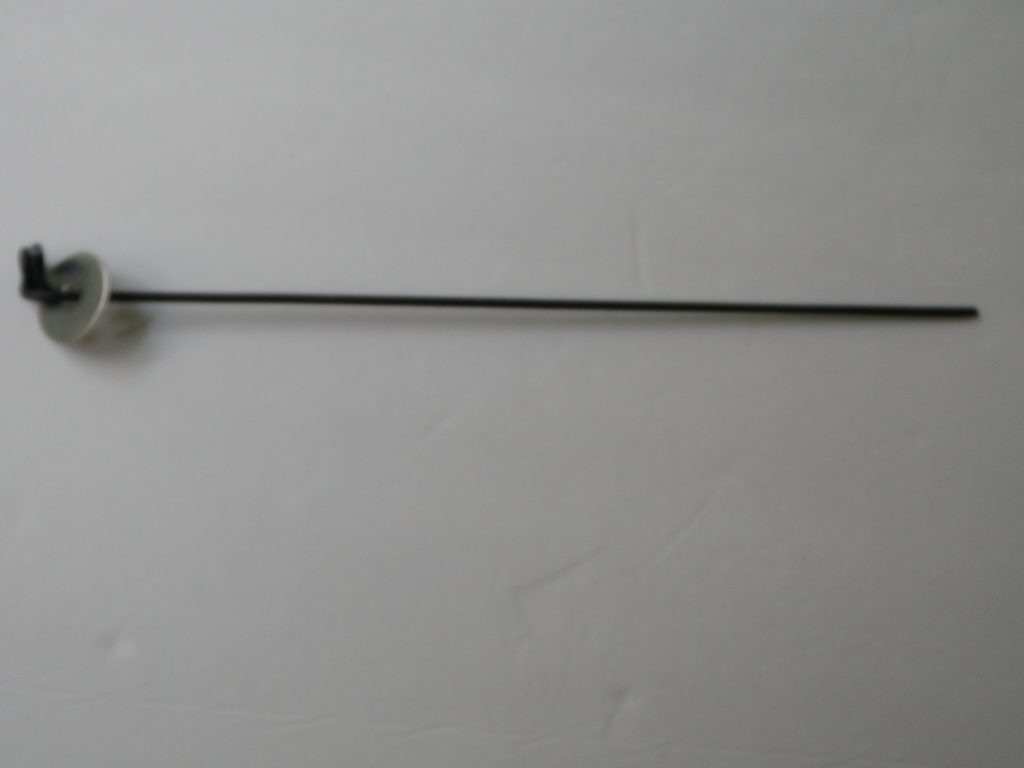
If you don’t wish to bother with undoing guy wire tie points to re-tighten them, or, maybe there is no more twist left in spiral twisted guy wires give this method a try:
Form a piece of 3 mm aluminum wire shaped like this.
Slip the guy wire between the handle bars.
Now turn the handle bars wrapping the guy wire as if on a spool.
The guy wire will remain wrapped in place when it is set (locked) against the rounded end of the re-tightening widget.
Inevitably, my smaller bonsai, and even some of my larger bonsai in lightweight pots get knocked over on the benches from high winds, squirrels, birds and inquisitive deer. When this occurs the best case is finding the bonsai intact and remaining on the bench (I never cry over spilled soil). The worst case is finding broken branches and broken pots on the ground!
Here is my stealth solution:
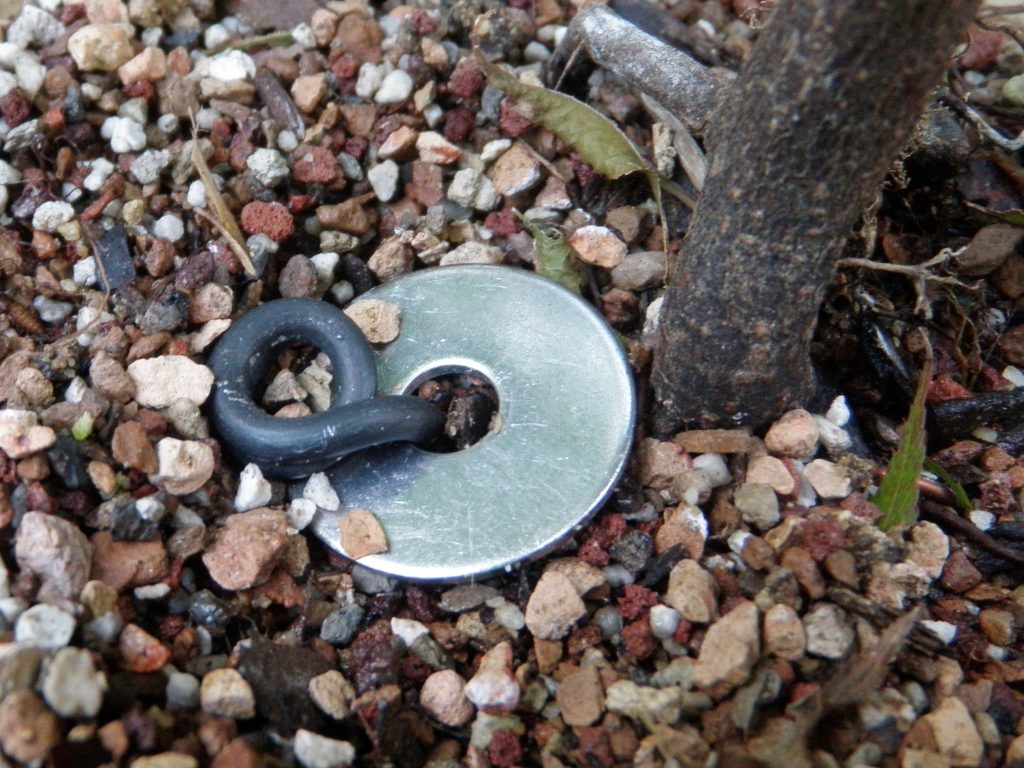
I am now attaching my vulnerable bonsai to my benches using homemade 3 mm aluminum wire stakes and 1/4″ x 1″ stainless steel fender washers. I start by stretching a length 3 mm wire to straighten it and add extra rigidity. Copper wire is certainly an acceptable alternative. I use the Bonsai Wire Bending Grip mounted to my outdoor bonsai workbench and pliers to do this, however, you can certainly use a vise in your basement or garage workshop.
Next wrap two turns of one end of the wire around the Bonsai Wire Bending Grip’s smaller 1/4″ post and then bend the completed looped end at a 90 degree angle. Trim any excess wire as needed. Then slide the fender washer over the wire toward the looped end. Almost finished!
Now, using the wire stake like an acupuncture needle carefully drill through the soil from the top of the soil and through the drainage screen at the bottom of the pot.
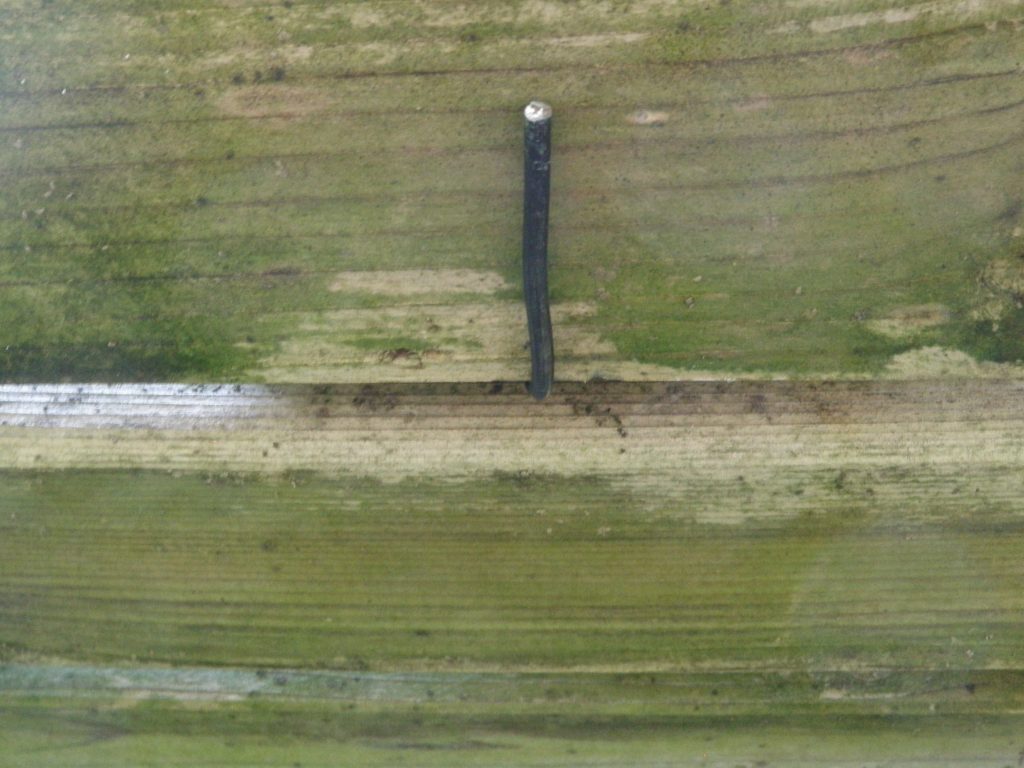
If the soil is too compacted or the roots are very dense use a chopstick to tunnel most of the way through. If you still have difficulty getting through the soil and roots try using an offset angle or a different drainage hole. The fender washer should be buried below the soil or moss surface. Guide the tail end of the wire stake through an existing slot between the boards of the bench or drill a small hole. Finally, bend the wire against the bottom of the bench. Finished!
You can rotate your pots and easily remove them when needed. If you want to deter impromptu theft attach a screw and washer under the bench to tightly wrap the wire around. I hope you find this helpful!
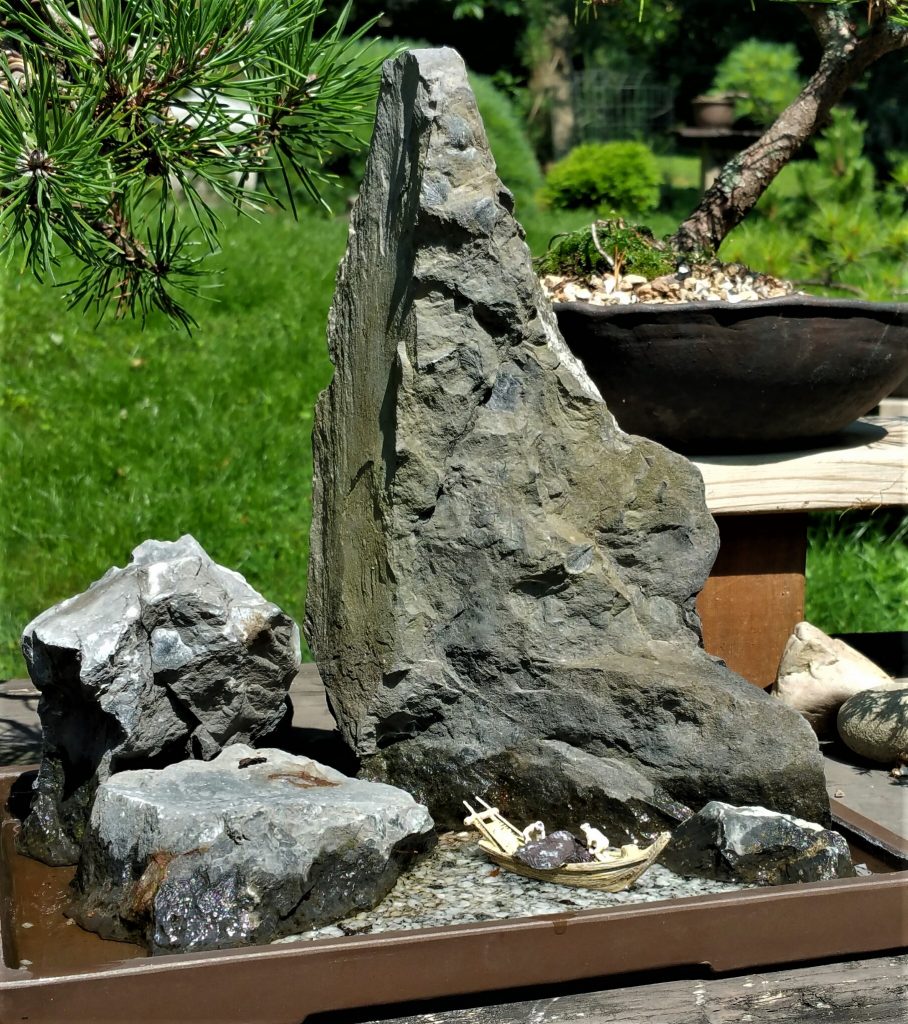
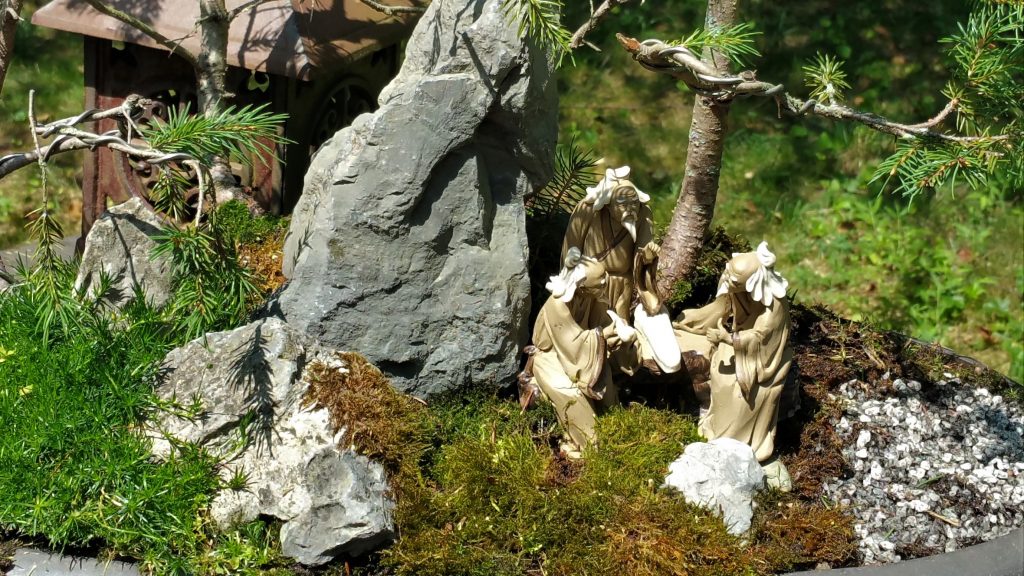
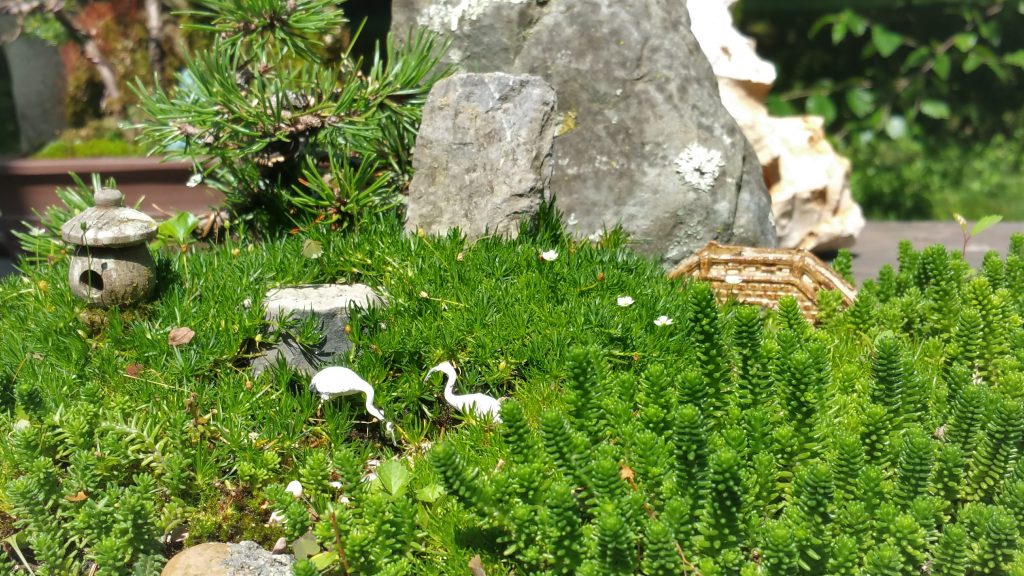
Below are some of my attempts to create compositions with a feeling of scale. The craggy gray stone comes from the northern Vermont area. The stone used in the pagoda setting is a dark granite. My family collects unique looking stones that eventually find their way into my tray compositions.
The plant material consists of pearlwort (Irish moss), sedum and any type of moss that makes its home in my area. Typically pincushion, haircap and fern mosses. A miniature Mugo pine is growing in the background of the lantern setting. The pagoda and lantern were made from white cedar lumber cut-offs. I used a bandsaw to cut the roof levels and a lathe to turn the lantern. Weather and time have created the aged patina. The used figurines were purchased over time.
These are easy and inexpensive to make. Keep an eye out for interesting looking stones during your travels. If you need to cut the stone to make a flat base use a diamond blade on a handheld grinder, or, find a friend or contractor who has the tools required.
I’ve used Korean mica trays, discarded table top fountain bowls and painted or glazed terracotta flower pot trays to make these.
Outdoor compositions are dynamic. The appearance and spatial effect change with the time of day and seasonal weather conditions.
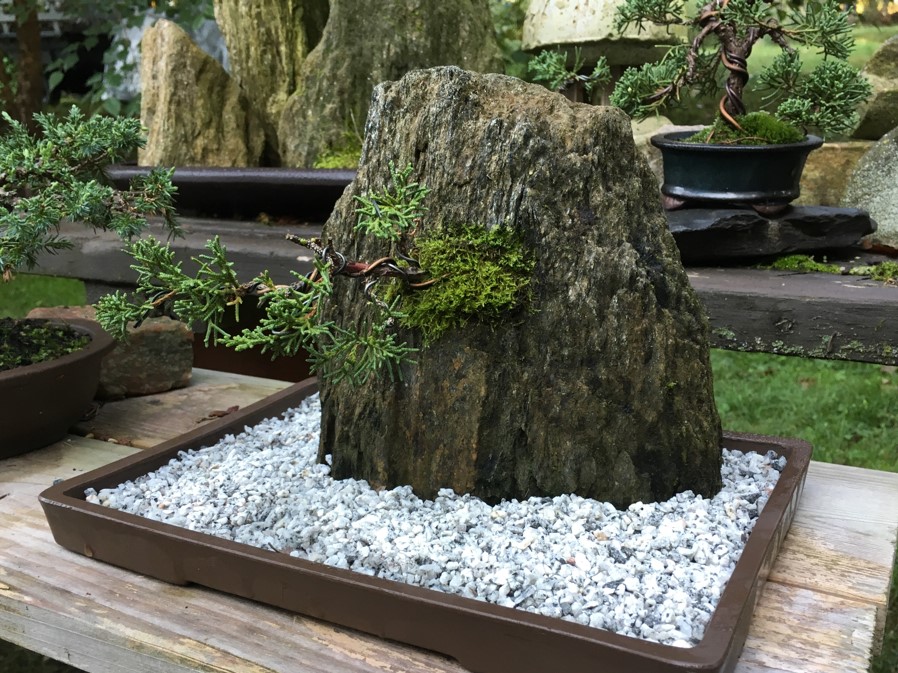
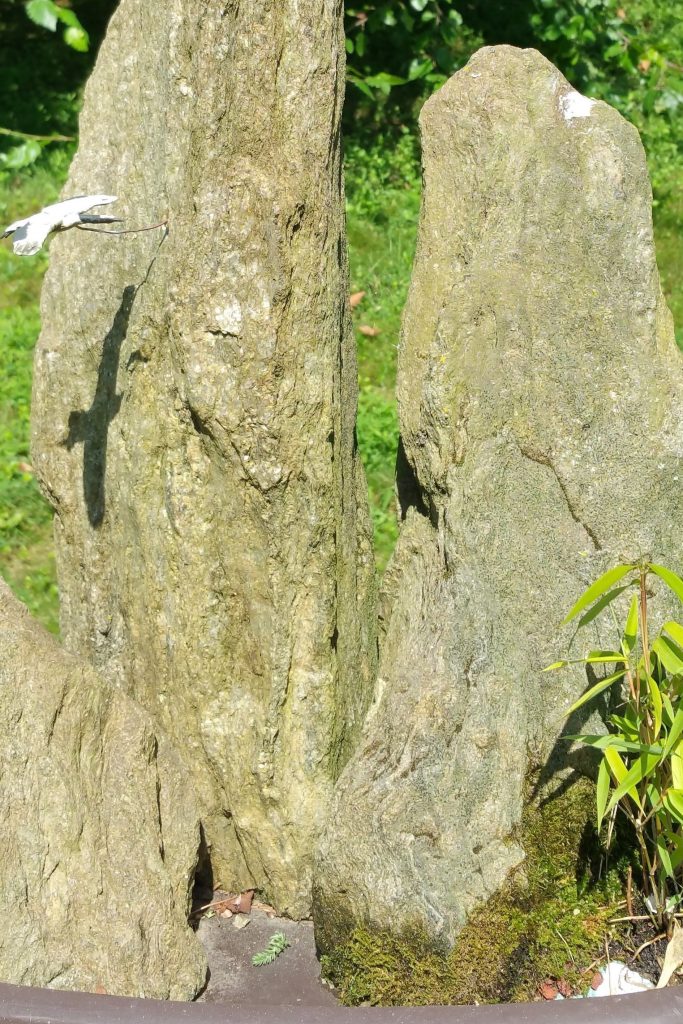
I used Wissahickon Schist stone to make these compositions. Schist is a relatively soft material that can be cut using a diamond blade on a small handheld grinder.
The implanted tree is a small Shimpaku cutting with moss added. I drilled a pocket and drain hole in the stone using masonry drill bits. The bamboo is the ‘Green Panda’ dwarf cultivar variety taken from a larger planting. The flying crane is handmade and is suspended by wire from the stone. I like the shadow best.
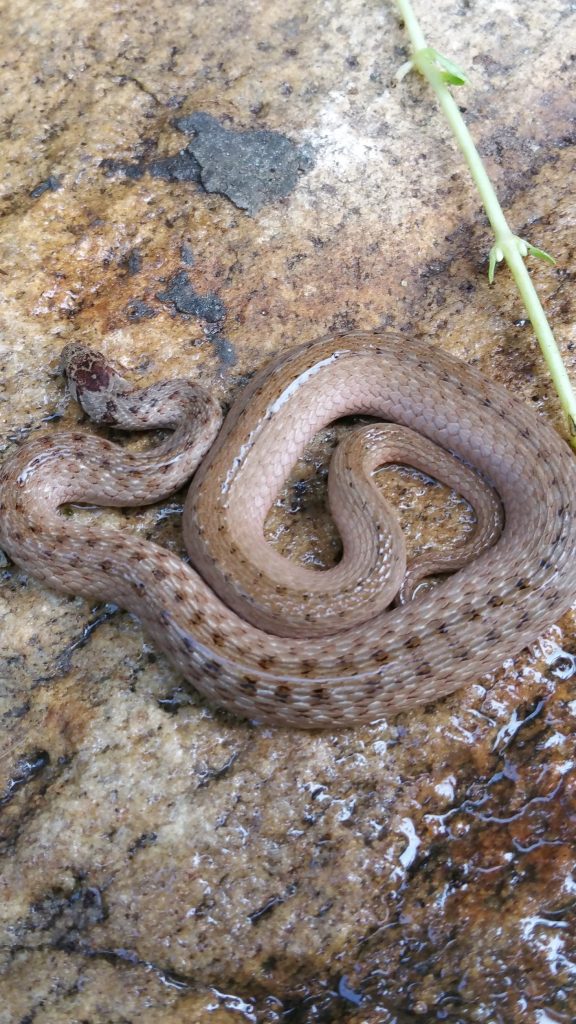
Always something new in the garden! I moved my Dawn Redwood ‘Bonsai’ dwarf conifer and found a surprise resident under the pot. I think it is a Northern Brown Snake. Herpetologists please chime in.
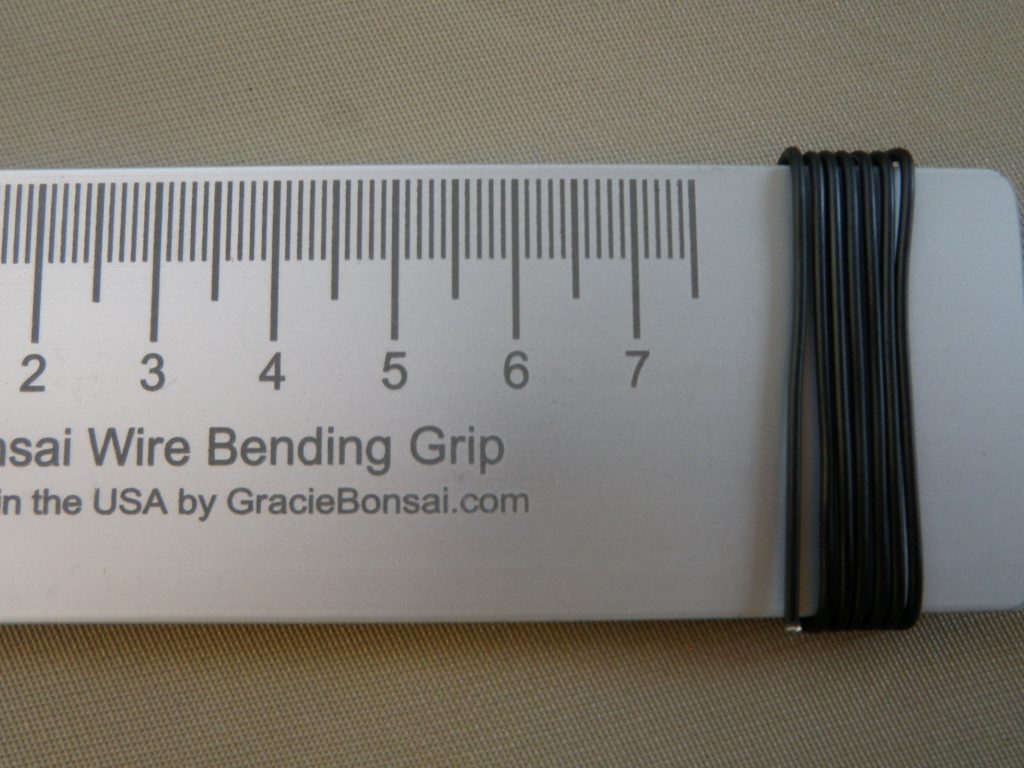
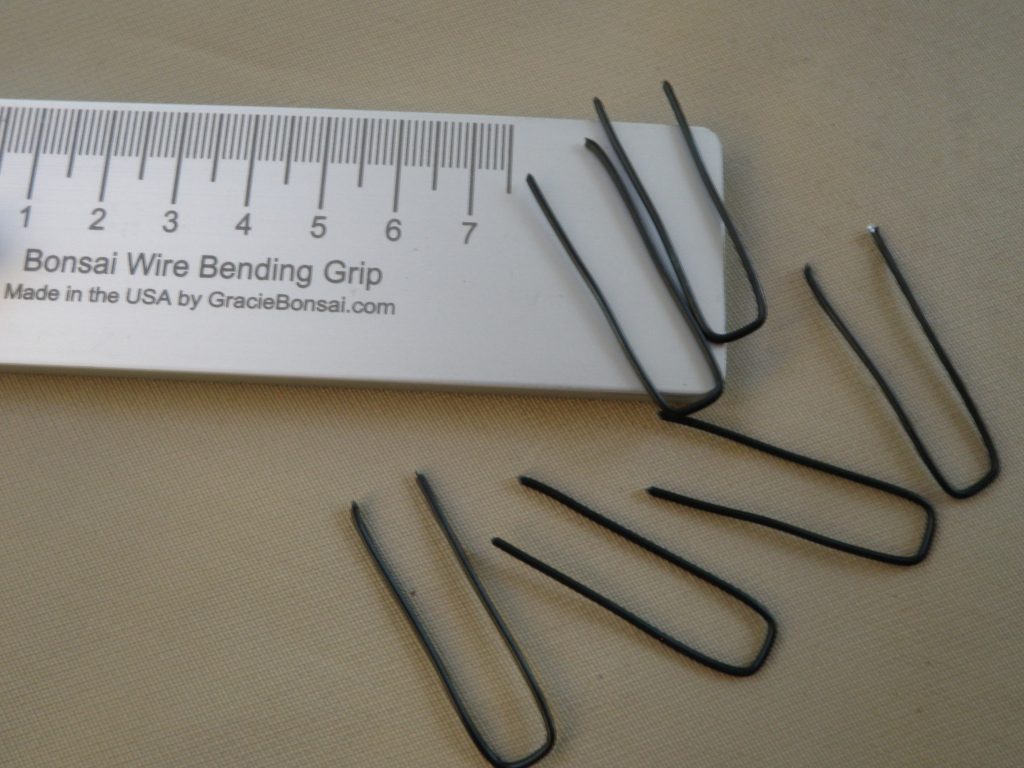
I use aluminum wire staples to help keep moss pieces in place until the moss takes hold on its own. I make the moss staples by wrapping multiple turns of light gauge wire around the Bonsai Wire Bending Grip. Then I remove the coiled wire and cut the ends off with heavy duty scissors or wire cutters. The staples are barely visible when pushed below the surface of the moss.
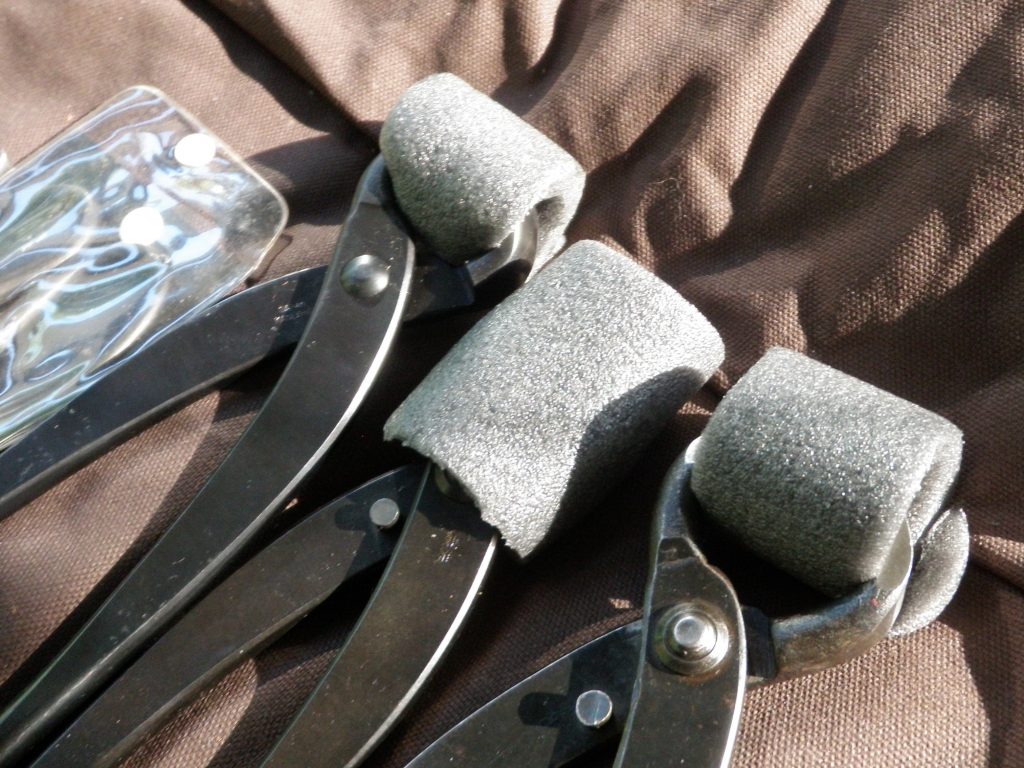
Pieces of closed cell foam 1/2″ or 3/4″ pipe insulation works very well to protect the sharp, polished cutting surfaces of my bonsai tools while in storage. If the tool roll pocket openings are the right size you can also insert the foam insulation into the pockets to protect the cutting ends of smaller tools.