Metal office file folder holders work great to efficiently store bonsai wire on your bench or wall.
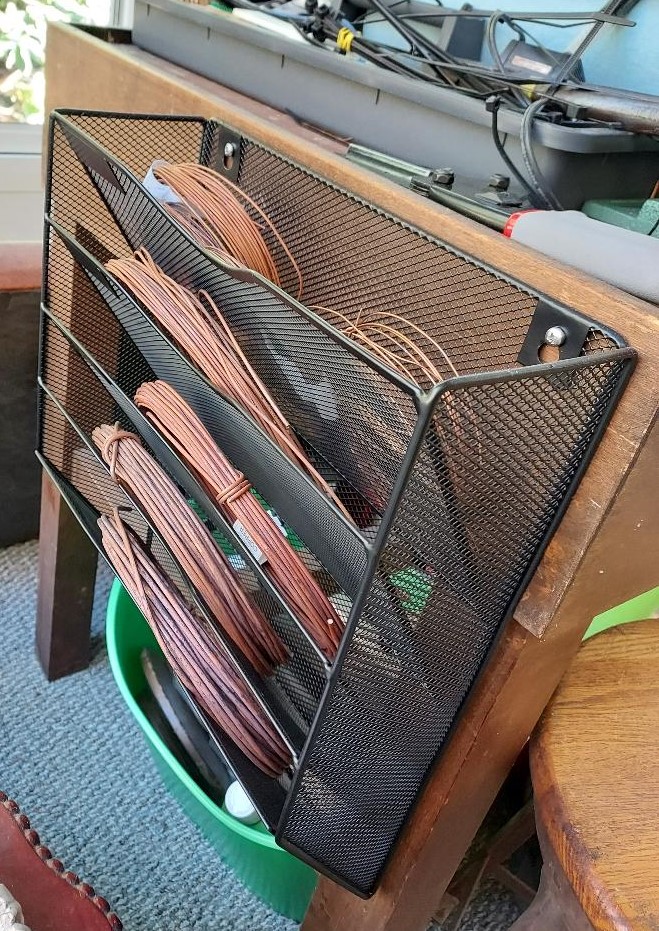
Metal office file folder holders work great to efficiently store bonsai wire on your bench or wall.

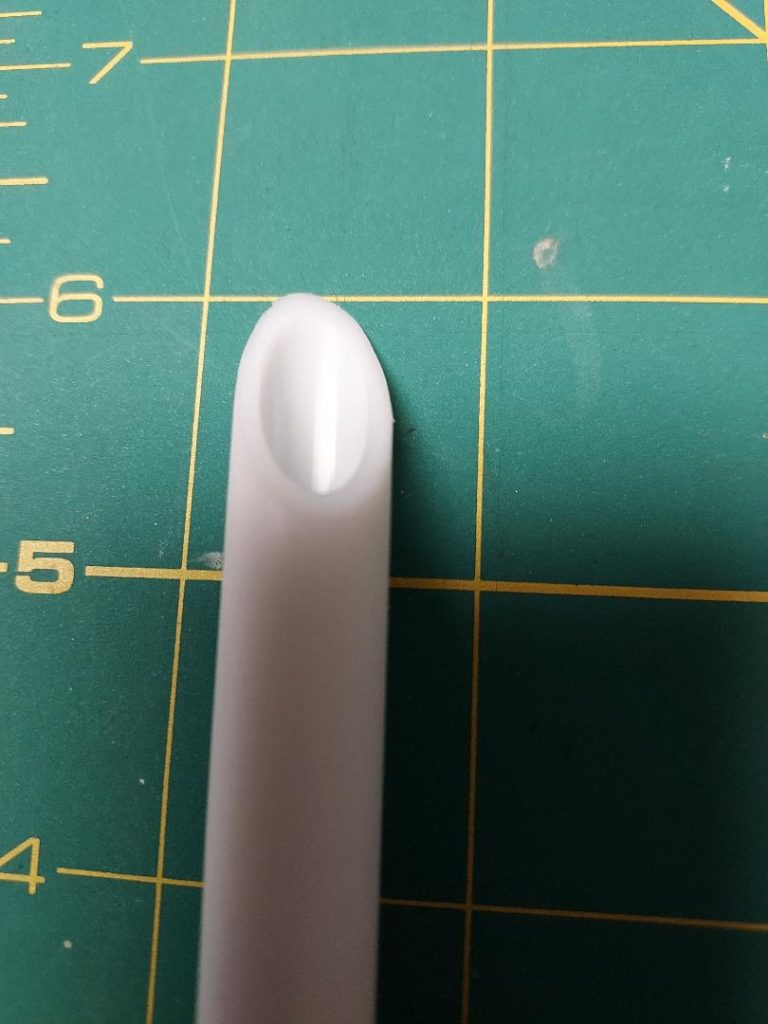
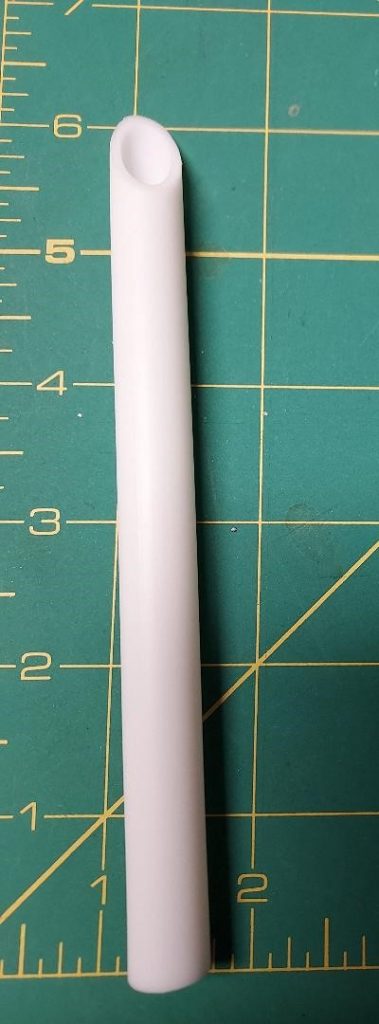
I find that my homemade Bonsai Weeding+Cleaning Tool is very effective at plucking weeds and removing moss and lichen. Use the pointed end to plunge into the base of a weed like using a garden spade and then use your forefinger or thumb to capture the weed to tug it out of the soil or root base. The tool is also very useful to clean crevices in bonsai pots and tamp soil. It is made from 3/8″ PEX plastic pipe that can be purchased for under $7 from a big box store. The pipe is sold in 10 foot lengths. Use a sharp utility knife to cut a sharp angle. To resharpen, just cut a fresh edge. Make a bunch for your fellow bonsai club members!
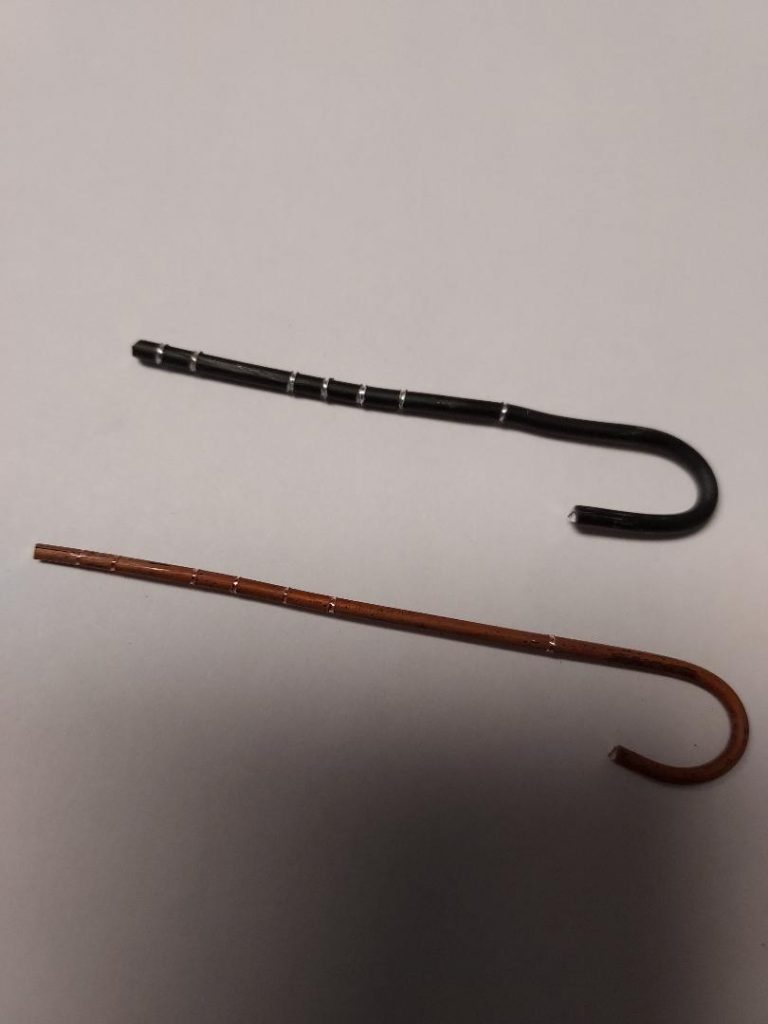
This is how I record my tree re-potting dates. Use a short piece of wire and bend one end. Use the bent end to rotate the wire in your wire cutter while applying light but enough pressure to score the wire around the circumference. As shown in the picture, reading left to right, 2 scores, wide space, 4 scores is year 20(24). Another wide space followed by 1 score = Spring, 2 scores =Summer, three scores = Fall and four scores =Winter. Hang from a tree branch, on a root or under the pot from the drainage screen retention wire.
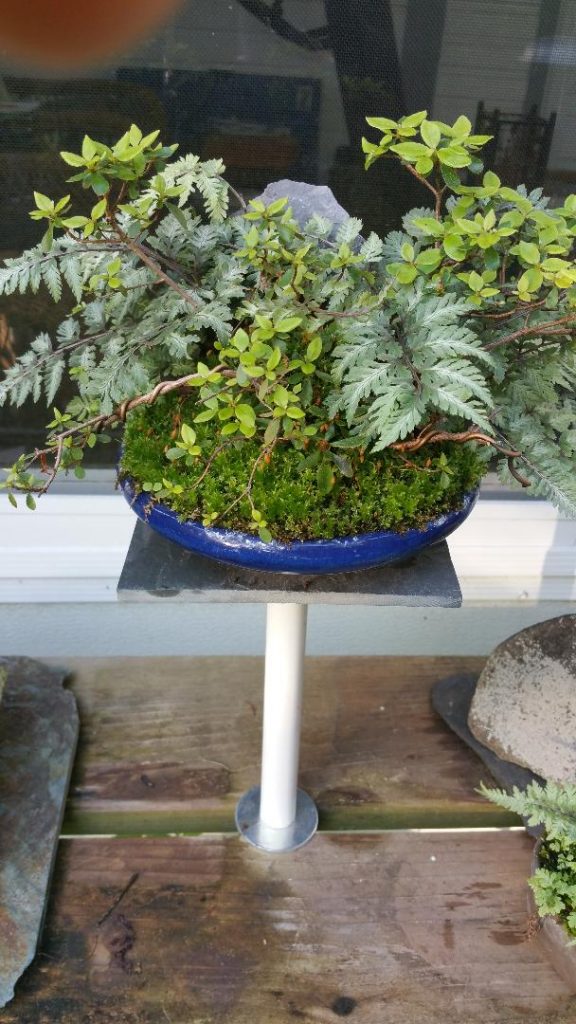
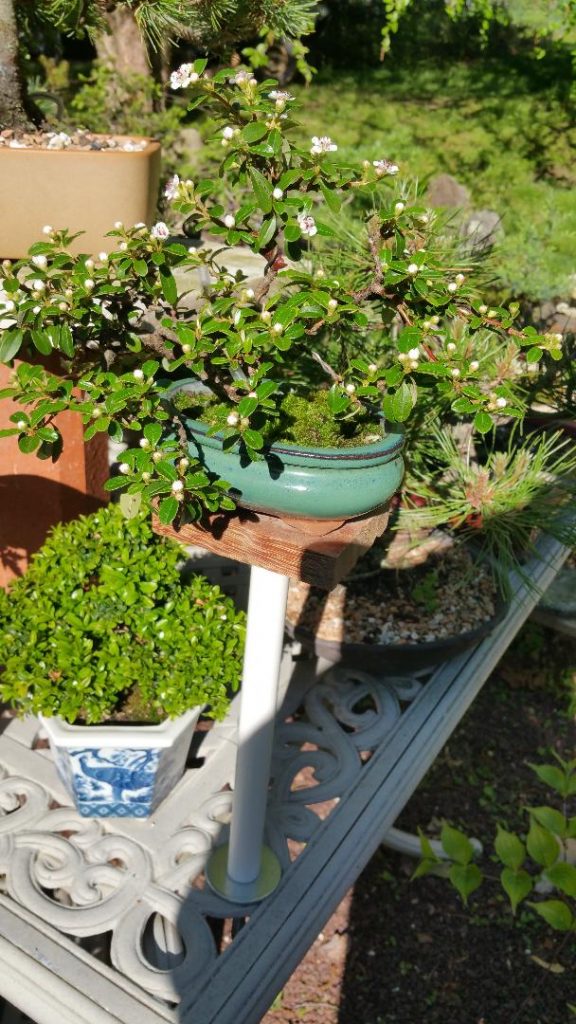
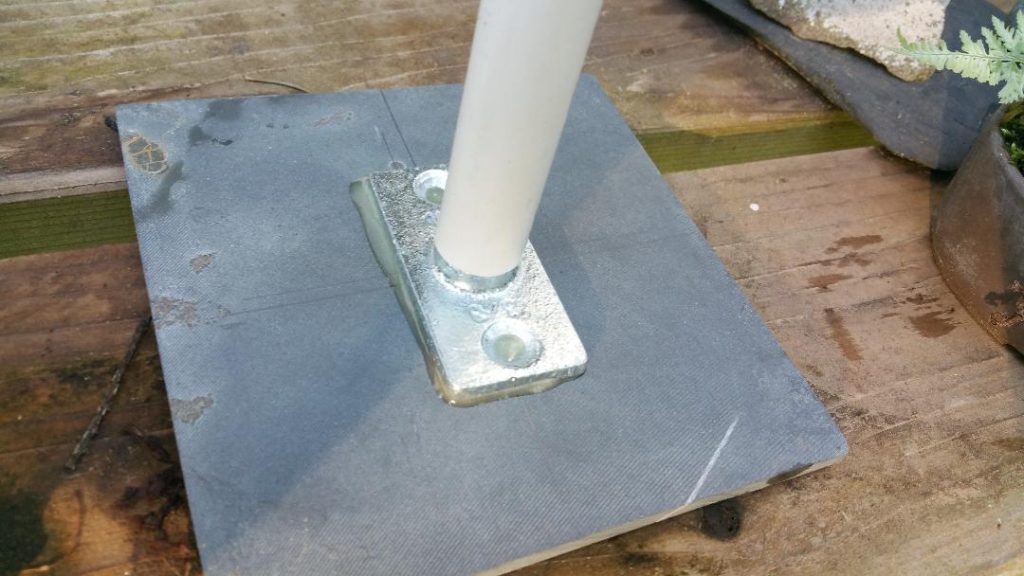
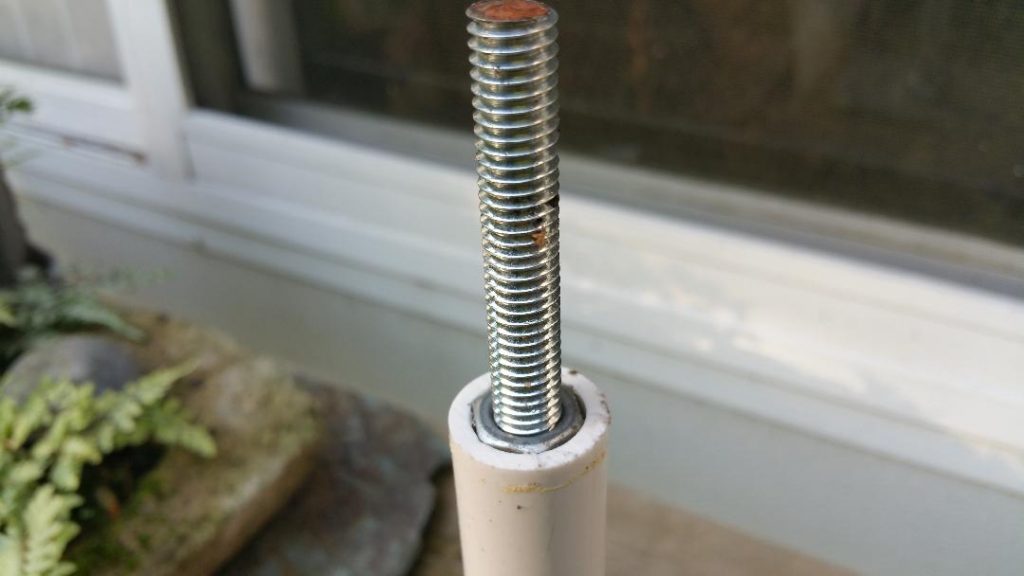
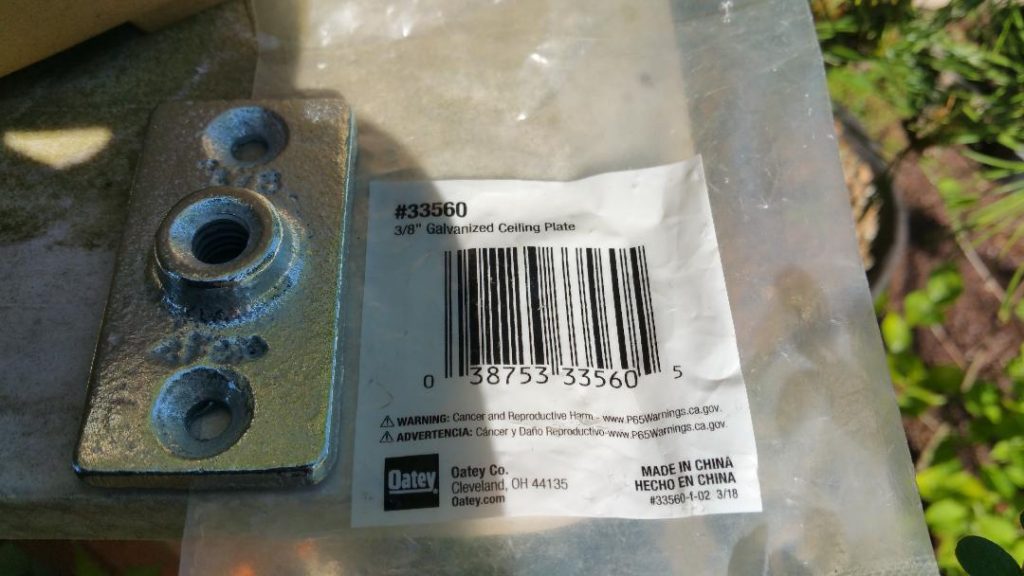
To maximize bench top space and highlight small bonsai you can make small, sturdy pedestals using 3/8″ threaded rod, 1/2″ PVC pipe, a threaded rod ceiling plate and your pick of slate, tile or wood. 3/8″ nuts are force fitted into each end of the PVC pipe then thread the rod through the pipe and both nuts. Use two thick 3/8″ fender washers and a third nut to mount to the bench top. The threaded rod ceiling plate is epoxied to the bottom of the platform. The PVC pipe can be painted or left bare.
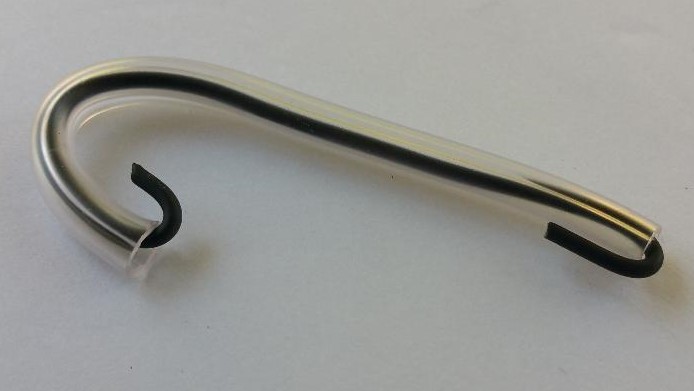
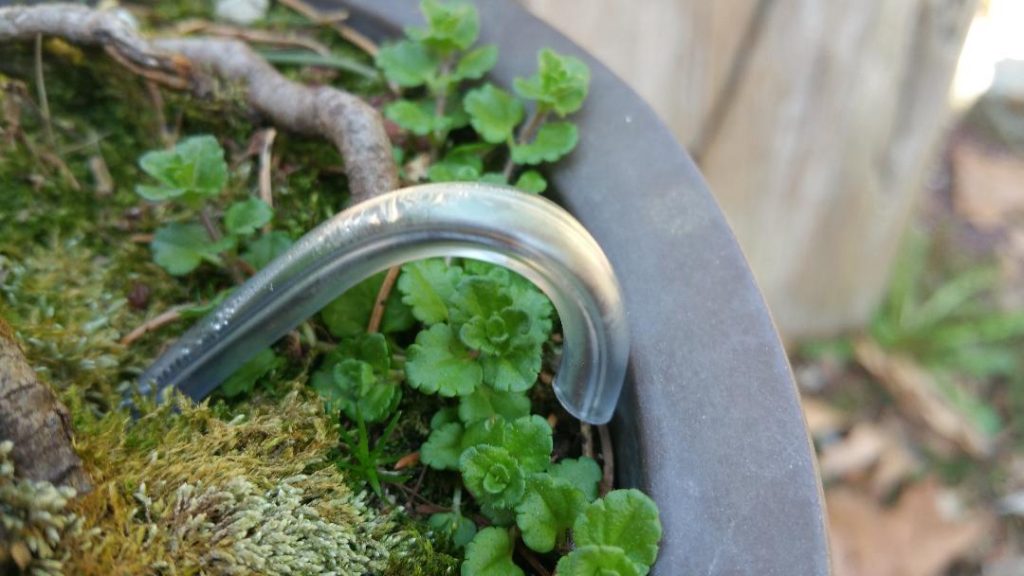
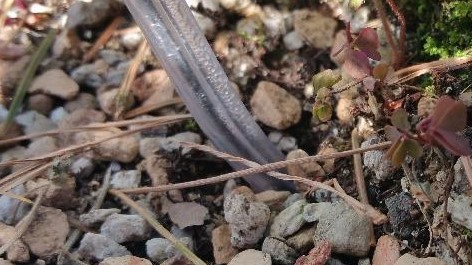
I’m not very confident in using a chopstick to detect bonsai soil moisture level in a bonsai pot because the chopstick has to be completely removed to check for dampness. Also, the porosity of the wood it is made from varies which affects the degree of moisture absorption and retention. So, I’ve been experimenting using clear plastic tubing as an indicator of soil moisture presence or absence. I am using pieces of narrow, flexible plastic medical grade tubing that is made for patient oxygen delivery.
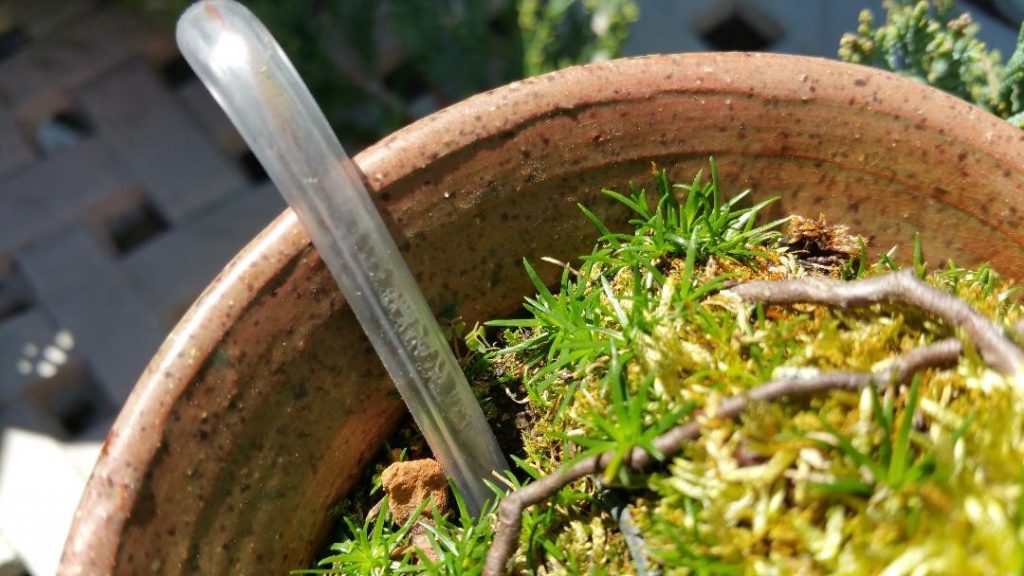
Place a stiff wire through a short piece of tubing and fold the wire over at each end to hold the wire inside of the tubing. Shape it like a candy cane. Make a hole in the soil with a chopstick and place the long end of the moisture probe into the hole at the desired monitoring depth. Retract the moisture probe just a bit to make sure the end of the tube is not obstructed with soil particles.
The water vapor in the soil passing through the tube condenses on the inside of the tube, visibly indicating the presence of soil moisture at the probe’s depth and location in the pot. The moisture probe is U-shaped so the end of the tube above the soil will not take in water from above. If there is no visible condensation in the tube above the soil’s surface slightly lift the probe out to see if condensation exists in the tube below the soil’s surface.
The preliminary results are encouraging. Give it a try and let me know if it works for you.
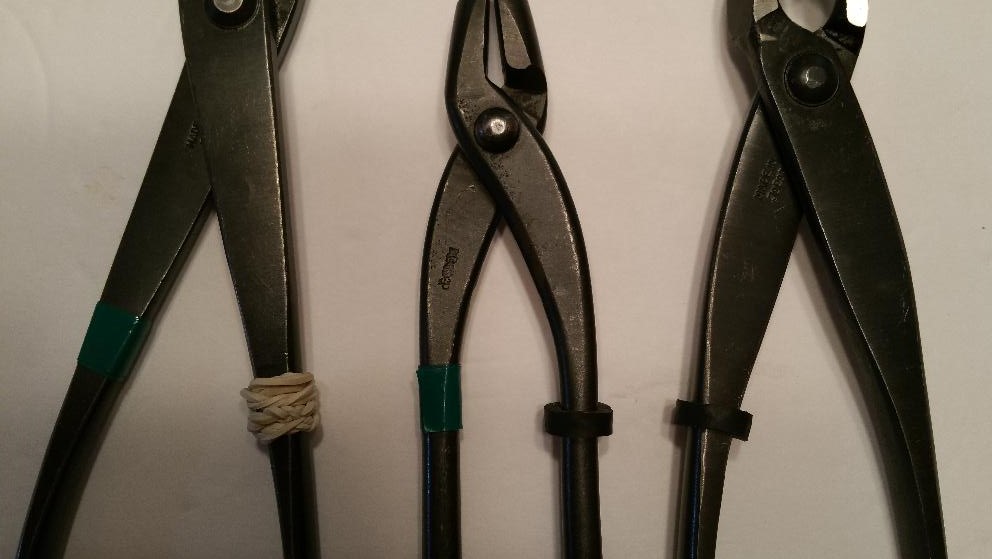
To improve handling my bonsai tools I’ve added pieces of 1/4″ fuel line or rubber bands to the handles where my index finger rests. This makes the bare metal handles less slippery and easier to grasp and manipulate. The nubs can be easily moved or removed for tool cleaning. Give it a try!
